Configuring Sensor Readings History Timestamp to Include Seconds
Including seconds in the Readings history of a sensor in the iMonnit Online Portal
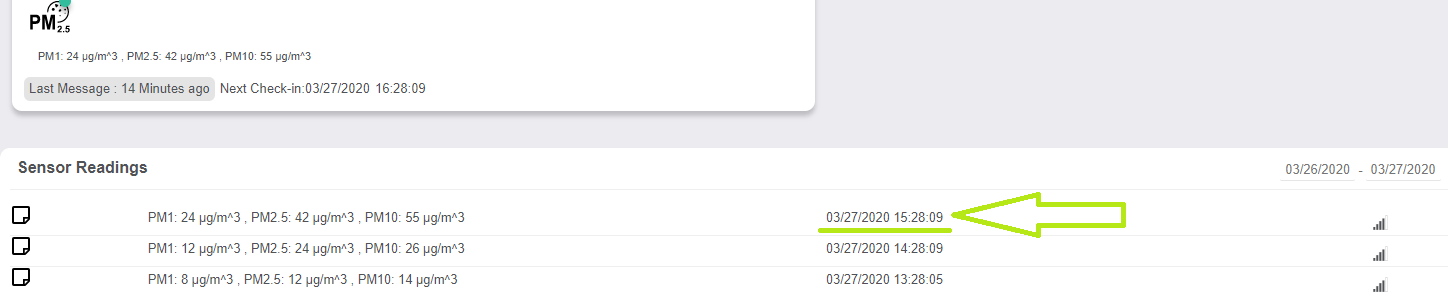
The iMonnit Online Portal offers the ability to include seconds in the timestamp displayed under sensor Readings history. This preference can be applied at the account level, and also at the user level. This article will provide steps in configuring these preferences.
Note Inclusion of seconds in the timestamp display is only offered for a 24 hour clock timestamp.
Summary of Steps
Configuring time display preference for the Account
- Log into the iMonnit Online Portal with an Administrator user of the account.
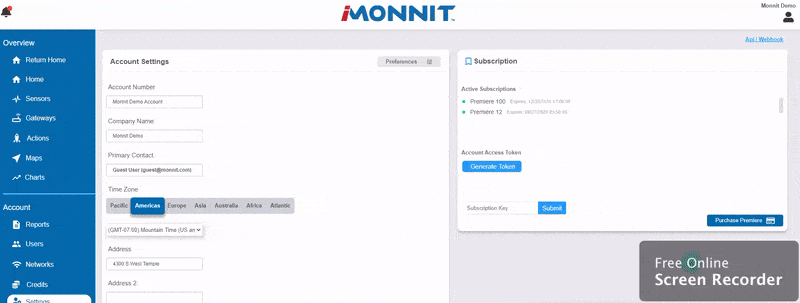
- Select Settings in the primary menu in the left-hand sidebar.
- Select the Preferences button in the top-right section of the Account Settings pane.
- Select the drop-down menu for Time Format.
- Select “17:30:30”.
Click Save.
Time Format Preference - Account
Configuring time display preference for the Account
- Log into the iMonnit Online Portal.
- Select the silhouette icon in the top right of the page.
- Select your username.
- Select the Preferences tab (computer screen icon).
- Select the drop-down menu for Time Format.
- Select “17:30:30”.
Click Save.
Time Format Preference - User
Account vs. User Time Format Preferences
The Time Format applied to the Account Preferences will be applied to all users unless the user has elected a Time Format that differs from the Account preference. If the user has a different Time Format preference, the user’s preference will be applied.