Unlock and Point an ALTA Gateway to a Custom Host or IP Address Hosting iMonnit Enterprise, Express, or Monnit MINE
Note: Before you point an ALTA Gateway to your custom host or IP address, you need to unlock the gateway. Gateway Unlock codes can be purchased here. If your gateway is not unlocked, it must communicate with iMonnit through the Internet on outbound port 3000 to receive the unlock command.
Unlock and Point Gateways
Monnit calls the interface through which data is transmitted to Monnit Software the Default Interface. This article provides steps for unlocking and pointing a gateway to a local iMonnit Enterprise, Express, or Monnit MINE server. Gateways can only transmit data to one destination at a time using the Default Interface. Once you have the gateway and receive an Unlock Code, you can follow the steps below to unlock and point your gateway to your local server.
Alternative Option: Unlock Gateways to Disable the Default Interface
Some ALTA Ethernet Gateways are unlocked to be used on a local private network without a Monnit server. To operate in this manner, the gateway’s Default Interface must be disabled, so it doesn’t persistently attempt to reach iMonnit. Please review this article for details on this process.
Summary of Steps
- Apply the Unlock Code to the gateway.
- Point the gateway using the SetHost tool.
- Connect the gateway to iMonnit.
- Confirm the gateway checks in with iMonnit to receive the Unlock/Point commands.
- Confirm that your gateway communicates with the new host.
- Reset the device to communicate with iMonnit.
Apply the Unlock Code
Using the Gateway Unlock feature of iMonnit
An Unlock Code can be applied from the Credits > Gateway Unlock page in iMonnit using the steps in this article.
Using the imonnit.com/SetHost tool
Note: You must be signed into your iMonnit account to view the imonnit.com/SetHost site, otherwise you might see a 404 error.
When you purchase an Unlock Code, an email with the code is delivered to the email address on the order. Copy the code and enter it into the SetHost tool, along with the Gateway’s ID and Security Code, to initiate the Unlock process. This can be done by following the steps below.
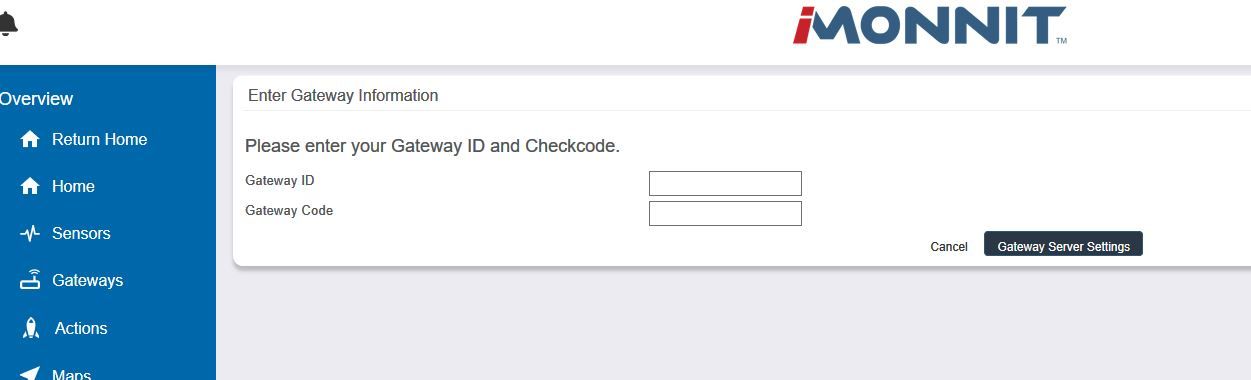
- Visit the https://www.imonnit.com/SetHost site.
- Enter the Gateway ID and Security Code found on its label.
- Click the Gateway Server Settings button.
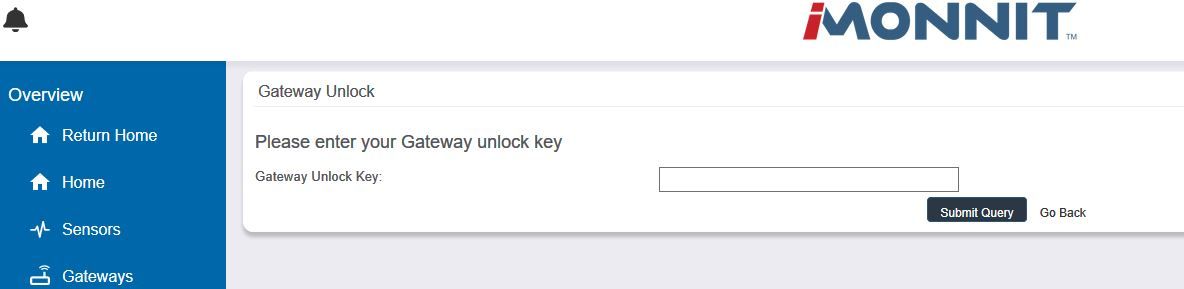
- Copy the Unlock Code from the email and paste it into the Unlock Code field.
- Click the Submit Query button.
Point the Gateway Using the SetHost Tool
The gateway Unlock command will be pending until it communicates with iMonnit to receive it. The unlock will occur upon the gateway’s subsequent check-in with iMonnit. To point the gateway to the local server, follow the steps below.
Note: If you’re using a cellular gateway, the domain or IP address must be a public-facing address accessible through the Internet.
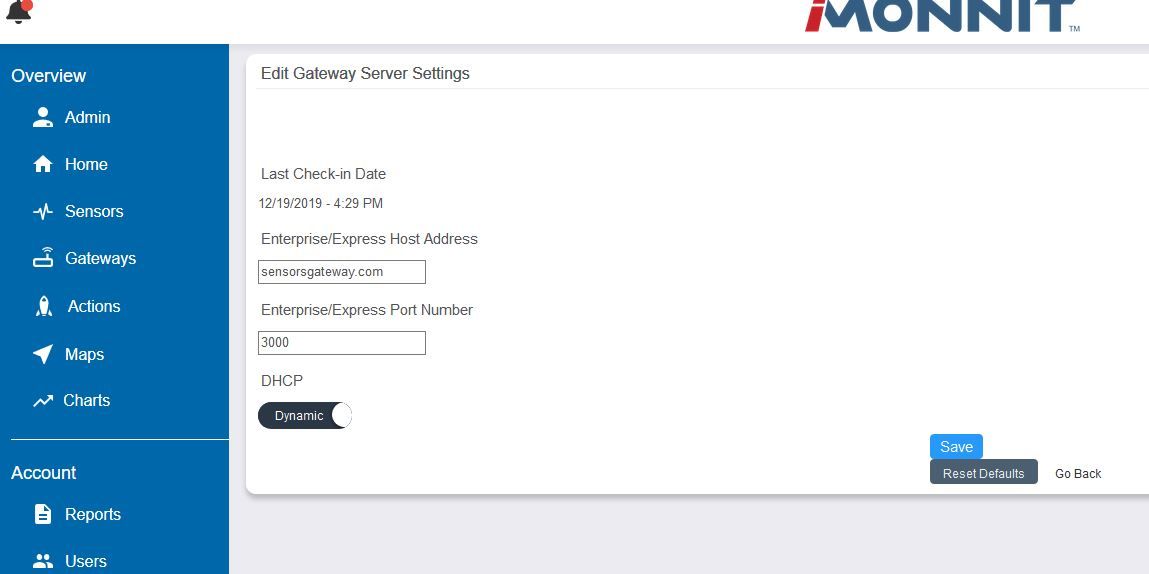
- Enter the domain or IP address of the server hosting the iMonnit Software in the Enterprise/Express Host Address field.
- If your gateway requires a static IP, you can disable DHCP by clicking the DHCP button and entering a Static IP (all four IP configurations are required).
- Click the Save button.
Connect the Gateway to iMonnit
The Unlock and Point commands will be pending at this point. For the gateway to receive the commands, it must check in with iMonnit. This means you will need to connect the gateway to a network that will support communication from the device to the Internet on port 3000. Once this has been accommodated, the gateway will check in with iMonnit, receive the Unlock Command, and point to the new host address. If you configured a Static IP address, it will be applied to the gateway at this point. This is important if you are moving the gateway to a different network.
Confirm the Gateway Communicates with the New Host
Some configuration is required for your gateway to communicate with the new server host. You must register the gateway with the server, so it is authorized to send data to the server. Adding the gateway to the server will vary depending on the Monnit Software to which you point the gateway. You can consult our software resources for information on adding the gateway. But if the gateway is added to the server host, receives the Unlock/Point commands, and has a valid network path to reach the server, it will communicate with the new server host.
Here is a link to a useful tool you run on a Windows PC to determine if your server will accept communication from the gateway. If you add your gateway to your network in iMonnit Enterprise, you can launch this tool to confirm your enterprise server is configured to receive communication from the gateway. This can be done by following the steps below.
- Enter Gateway ID.
- Select the gateway type.
- Uncheck the Use Defaults option.
- Enter the enterprise server’s IP address.
- Click the Check Communication button.
The tool will attempt to resolve DNS and send a pseudo-check-in from your gateway to your server. If the test is successful, there is no issue with DNS or TCP port 3000 being open on that network segment for the PC, and the server is configured to receive communication from the gateway. Run this tool from the enterprise server or another computer to analyze network operations. If the tool fails, confirm that the Enterprise Wireless Gateway Server is running in Windows Services and the gateway is added to a network in iMonnit Enterprise.
Reset the Device to Communicate with iMonnit
After your gateway has been pointed to a new server host, there may be a scenario in which you need to point the gateway back to the iMonnit Online portal. There are two steps that will need to be taken to do this.
After your gateway points to a new server host, there may be a scenario in which you need to point the gateway back to iMonnit. Take two steps to do this.
First, prepare iMonnit to receive communication from the gateway again. If this isn’t done, the gateway will attempt to communicate with iMonnit repeatedly and be turned away.
- Visit the iMonnit.com/SetHost site.
- Enter the Gateway ID and Security Code.
- Click the Reset Defaults button. Once you click the button, the gateway won’t be flagged in iMonnit to prevent communication from the gateway.
Second, reset the gateway’s server/host configuration. Most gateways can be reset to default settings by pressing and holding the Reset/Utility button for 15-20 seconds, then releasing. Cellular gateways can receive host configurations via SMS. USB Gateways can be pointed back to iMonnit using the Monnit Link Gateway Utility. Whichever gateway type/method you use, the gateway will communicate with iMonnit again.
Unlock USB Gateways/Wireless Sensor Adapters
As mentioned above, the SetHost tool does not support USB Gateways/Wireless Sensor Adapters. Therefore these devices need to be unlocked manually by Monnit Support. Send an email to support@monnit.com with the Gateway ID and Unlock Code, and we will unlock the gateway. It is important to know that USB Gateways/Wireless Sensor Adapters store the unlock status in a file on the computer from which it is unlocked. Therefore if you move a USB Gateway/Wireless Sensor Adapter from one computer where it was unlocked to another, the unlock status will no longer be in effect. You will need to send another request to Monnit Support to have the gateway unlocked.
To determine if your USB Gateway has been successfully unlocked, launch the Monnit Link Gateway Configuration Utility, click the Actions menu in the main menu bar, and look for the option Configure Server Location. If you see it, your gateway has been successfully unlocked on this computer. If you do not see this option, the gateway will need to be unlocked by Monnit Support.
Conclusion
When running iMonnit Enterprise, iMonnit Express, or Monnit MINE, the gateway must be pointed to the new host. The steps in this article should allow you to do this. If there are unexpected results, contact Monnit Support for feedback.