Perform a Standard Upgrade of iMonnit Enterprise
The steps in this article can guide you through a standard upgrade of iMonnit Enterprise to the current version. To perform an upgrade, you must be running version 3.5.0.0 or later.
The current version of iMonnit Enterprise can be found on our Monnit.com Downloads page linked here.
- Backup your current installation.
- Uninstall the existing Enterprise Configuration Utility **important
- Run the Enterprise Configuration Utility to install the most recent version
- Launch the Enterprise Configuration Utility.
- Confirm the SQL database testing.
Click the Update Enterprise button.
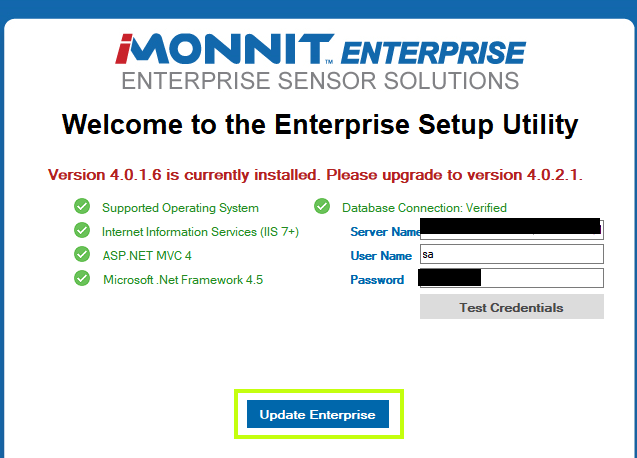
Upgrade Enterprise
Note: the button for Update Enterprise will only be present if the original cached files created in the C:\Users\[USERNAME]\AppData\Roaming\Enterprise\Enterprise.db file that was created during the last installation is present. If this file was moved, deleted, not created, or otherwise not present in this directory, you will not see the Update Enterprise button. You will either need to locate and restore this file to the C:\Users\[USERNAME]\AppData\Roaming\Enterprise\ directory, or proceed with a new installation with a new database.
Enter your Activation Key, click the Activate button, then the Next button.
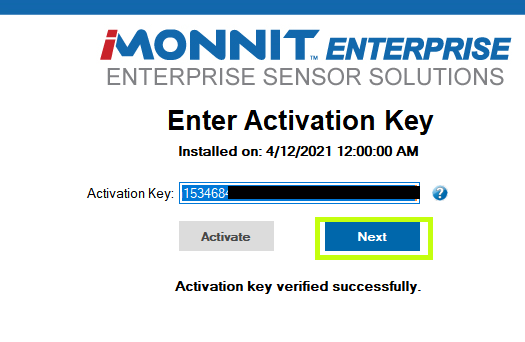
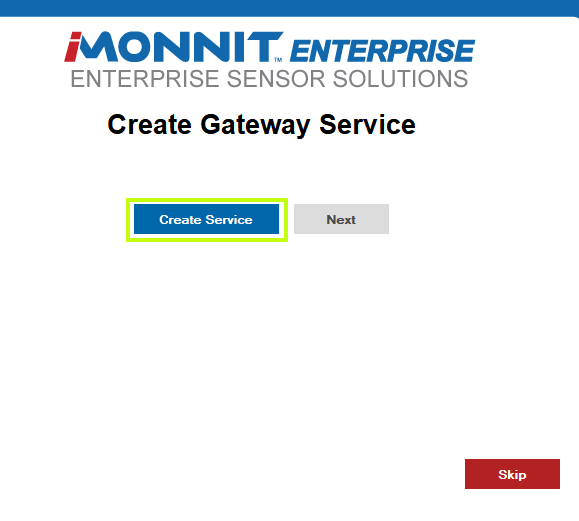
Upgrade Activation Key - Click the Create Service button. Be sure not to skip this step because sometimes there are changes to the Gateway Service.
Click the Next button.
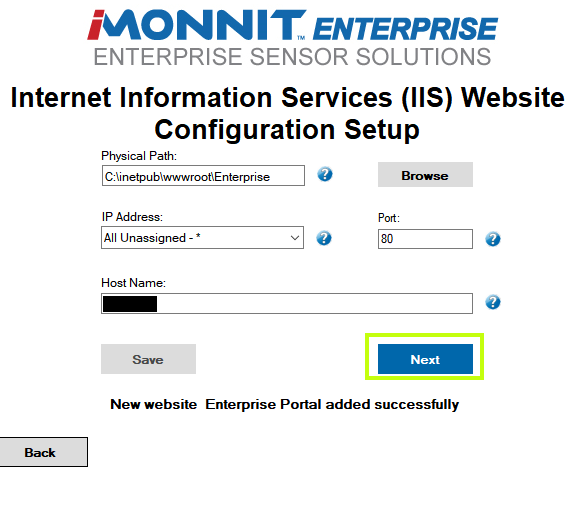
Upgrade Service Click the Save button to confirm the website setup, then click Next.
Upgrade IIS Be sure you see the Update button, and select it, select Next.
Note: If you do not see the Upgrade Database button, it is because the cached file created during the last installation is not present in the %appdata%/Enterprise directory. If this file was not backed up, you may not be able to update you installation and need to start with a new database.
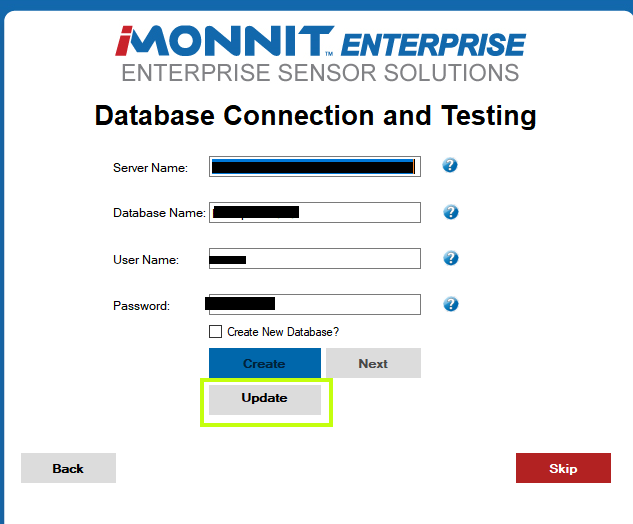
Update Database Generally, your SMTP configuration will already be present, so you can click Skip.
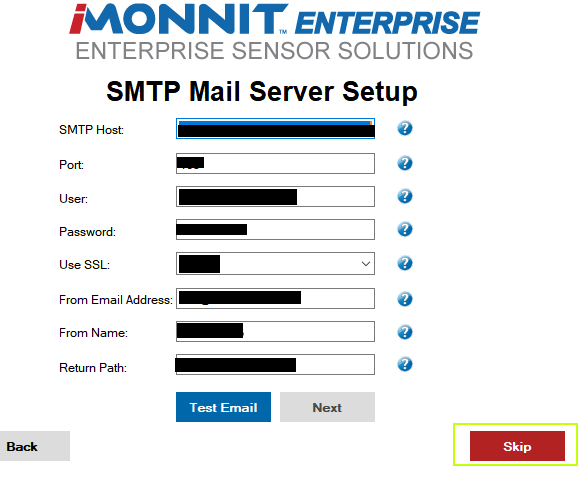
Upgrade SMTP Generally, your notification behavior is set up so you can click Skip.
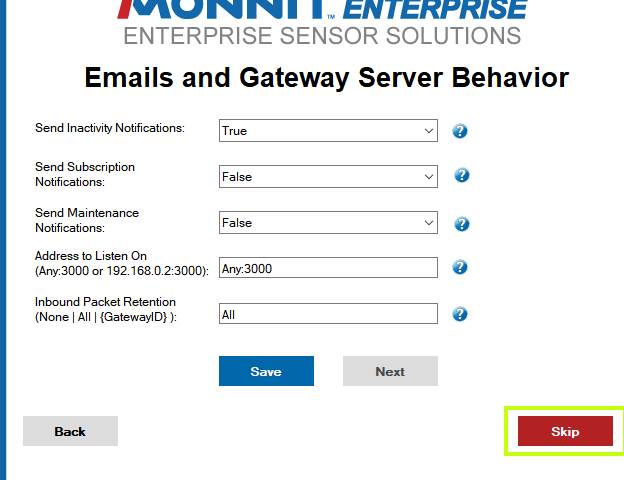
Upgrade Email Generally, your firewall will already be configured so that you can click Skip.
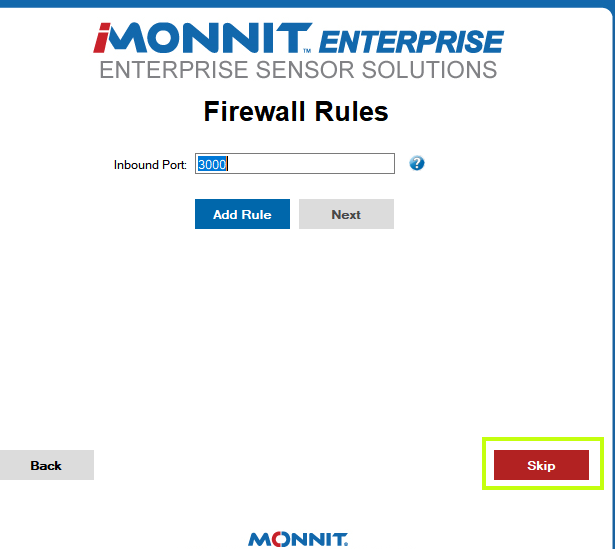
Upgrade Firewall Select the Test Service button; in most cases, the service should start, and the test will succeed.
Note: If the original test gateway was removed from the installation, this test will fail.
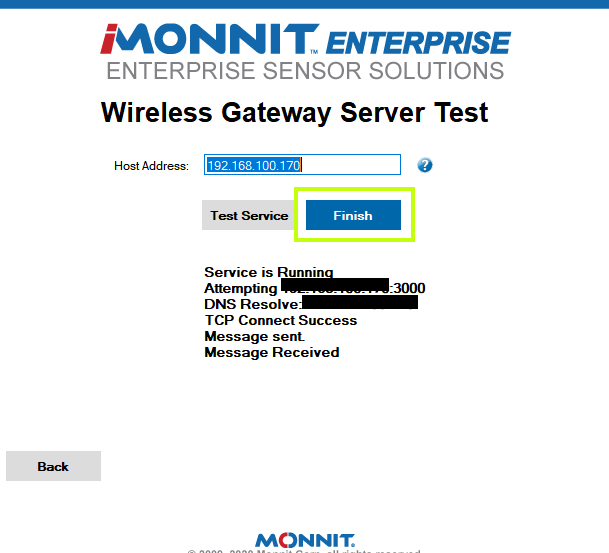
Upgrade Test - Select the Finish button.