There may be occasions where you have already created a Rule, but need to add another user as a recipient to the Rule. This article will provide steps for doing so.
Steps
-
Log into the iMonnit Online Portal.
-
Confirm the desired User has been created, and the User’s Notification Details are configured for the desired notification type.
-
Select Rules in the main navigation menu.
-
Select the Rule to which you wish to add a recipient.

View Full Size -
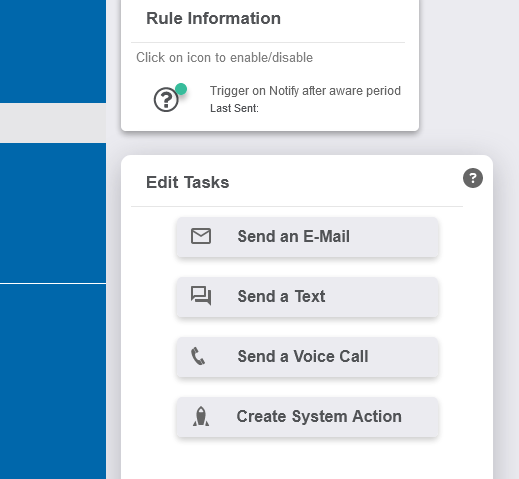
Select the Tasks tab toward the top-right navigation.
-
Select the notification type in the “Edit Tasks” pane (I.E. Text).
View Full Size -
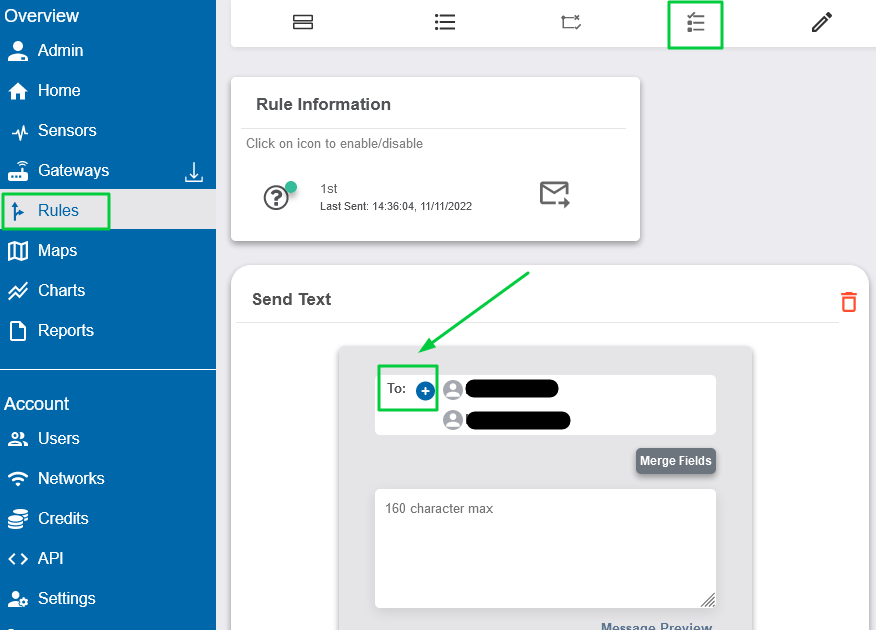
Select the “+” icon in the “To:” field.
View Full Size -
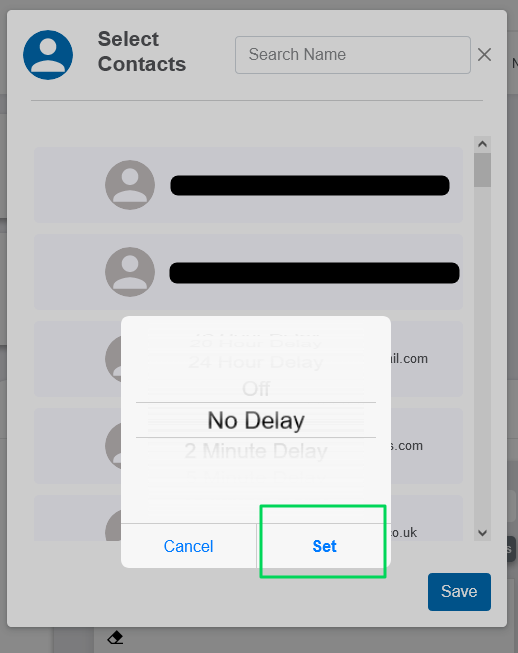
Select the recipient User you wish to add to the notification.
-
Set the desired Delay Period (or select No Delay).
-
Select Set.
View Full Size -
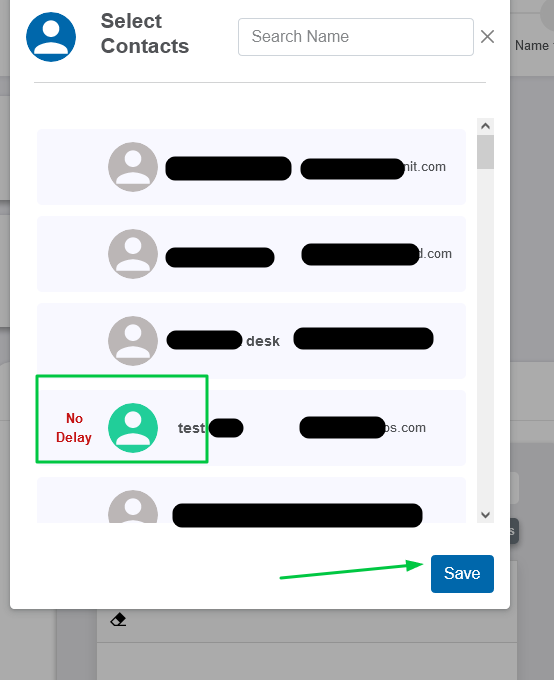
Select Save.
View Full Size
Going forward, the Rule will send to the configured user with the configurations that were applied. Feel free to contact support@monnit.com with related inquiries.